Yoga For Back Pain Relief
What does being a neurosurgeon and yoga have in common, you may ask? Quite a lot!!
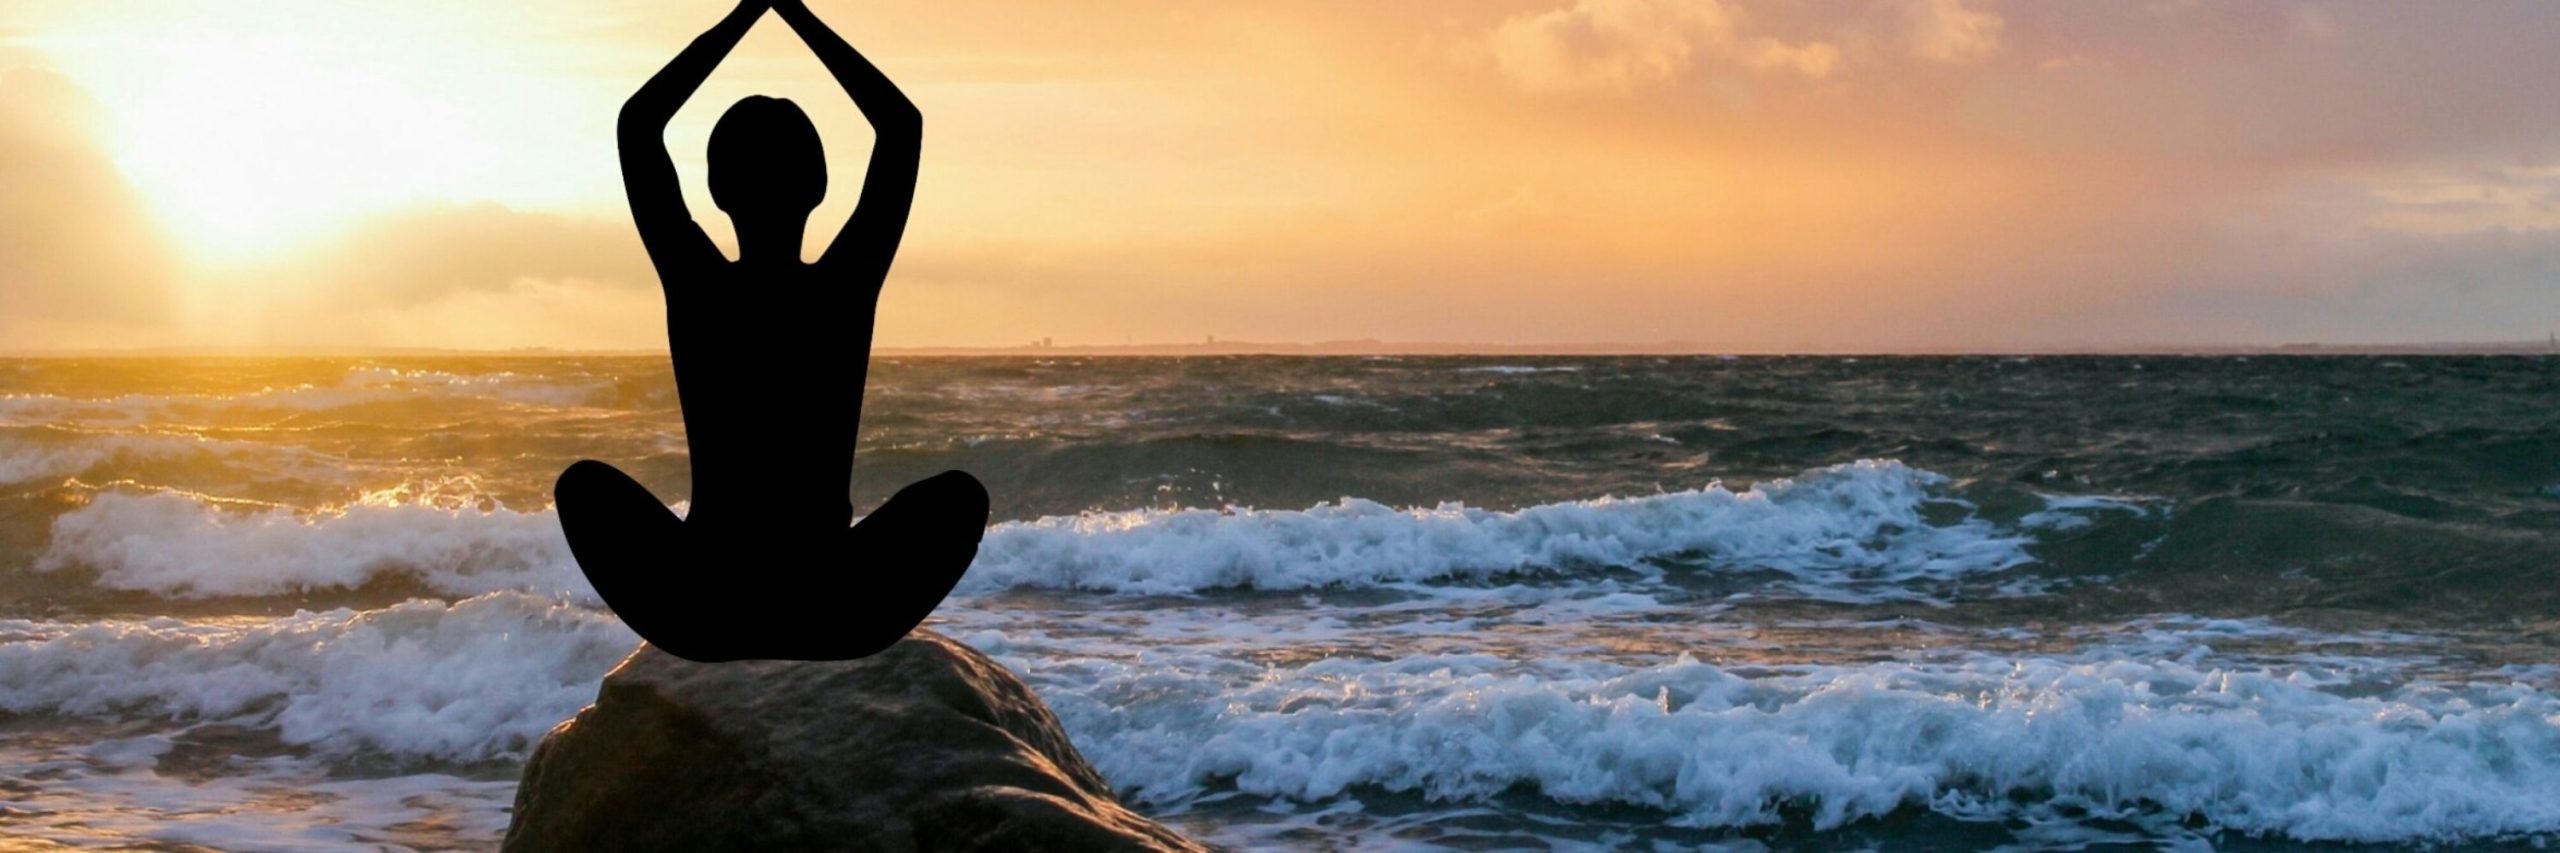
Originating in ancient India over 5,000 years ago, yoga emerged as a spiritual practice aimed at achieving harmony between mind, body, and spirit. Little would the ancient Indians know, yoga is also good for your back health.
From physician to patient, my ultimate goal is to not only treat your back pain, but also to help prevent it from recurring. The goal of this post to help patients who are suffering from some sort of lumbar back pain.
The Healing Power of Yoga
Outside of the romantic candles in a dark room and fancy clothes, yoga provides healthy benefits to the spine itself. First, it helps to improve flexibility and mobility, reducing stiffness and tension in the muscles surrounding the spine.
Additionally, yoga postures, such as forward bends, twists, and backbends, can help to gently stretch and strengthen the muscles of the back, promoting better alignment and posture.
Yoga promotes awareness of the body and breath, encouraging practitioners to tune into any areas of tension or discomfort and to practice mindfulness and relaxation techniques that can alleviate stress, which often contributes to back pain
What are the benefits of yoga in a nutshell?
- Lengthening the spine
- Relaxes the Musculoskeletal System
- Alleviates Muscle tension
- Endorphin Release
- Calms the nerves
- Lowers Anxiety and Stress
- Improves Mood
- Reduces Stiffness
- Improves Sleep
- Improves Breathing
- Improves Joints
- Improves circulation
Understanding Back Pain
One of the most common complaints I am asked during a neurosurgery visit is “where is my back pain coming from?”
As I tell my patients, its important to understand where the pain is coming from in regards to identifying the best treatment; however, we MUST remember that anything in our back can cause pain. Whether this be from degenerated disks, arthritis, ligaments, muscle strain, stiffness, bad posture, etc
Incorporating regular yoga practice into their routine, individuals can build a stronger, more resilient back and experience reduced pain and improved overall well-being.
That being said, it’s essential to approach back pain with mindfulness and awareness, tuning into the body’s signals during practice.
10 Yoga Poses for Lumbar Back Pain
1. Cat-Cow Pose (Marjaryasana-Bitilasana)
- Warm up stretch


- Start in Tabletop position, aligning wrists under shoulders and knees under hips.
- For Cow Pose, inhale, arch your back, drop your belly, and lift your chest and tailbone, gazing forward
- For Cat Pose, exhale, round your spine, draw your belly button towards your spine, tuck your chin, and release your head.
- Flow smoothly between poses with each breath, syncing movement with breath for several cycles.
2. Child’s Pose (Balasana)
- Restorative & calming
- Promotes relaxation
- Gentle stretch for spine, hips, thighs

- Starting Position: Begin on your hands and knees in Tabletop position, with your wrists under your shoulders and your knees under your hips.
- Sitting Back: From Tabletop, lower your hips back towards your heels while extending your arms forward. Your forehead can rest on the mat or a block, and your arms can be extended or relaxed by your sides.
- Relaxation: Allow your chest to sink towards the mat, and release any tension in your shoulders, neck, and back. Breathe deeply and relax into the posture.
- Duration: Hold Child’s Pose for as long as feels comfortable, typically for several breaths to a few minutes.
3. Sphinx Pose (Salamba Bhujangasana)
- Stretches spine and chest
- Helps improve posture
- Helps decrease pain
- Promotes flexibility

- Starting Position: Lie on your stomach with your legs extended behind you, tops of the feet pressing into the mat.
- Forearm Placement: Bring your elbows under your shoulders, keeping your forearms parallel to each other and resting flat on the mat.
- Lift Chest: As you inhale, gently lift your chest off the mat, using your forearms for support. Keep your shoulders relaxed and away from your ears.
- Engage Core: Engage your core muscles to support your lower back and lengthen through the crown of your head, creating space along the entire length of your spine.
- Hold and Breathe: Hold Sphinx Pose for several breaths, focusing on lengthening your spine and opening your chest. Avoid sinking into the lower back or straining the neck.
4. Bridge Pose (Setu Bandhasana)
- Rejuvenating pose
- Strengthens back, glutes and thighs
- Helps open the chest and shoulders

- Starting Position: Lie on your back with your knees bent and feet hip-width apart, feet flat on the mat. Keep your arms alongside your body, palms facing down.
- Lift Hips: Press into your feet as you exhale, lifting your hips towards the ceiling. Keep your knees aligned over your ankles and engage your glutes and thighs to support your hips.
- Shoulder Placement: Optionally, interlace your fingers under your back and roll your shoulders underneath you, lifting your chest towards your chin to create a gentle backbend.
- Hold and Breathe: Hold Bridge Pose for several breaths, maintaining stability in your hips and keeping your neck relaxed. Focus on lifting through the hips and opening the front of the body.
- Release: To release, slowly lower your hips back down to the mat on an exhale, and extend your legs out long to rest.
5. Thread the Needle Pose (Parsva Balasana)
- Releases tension in shoulders and upper back

- Starting Position: Begin on your hands and knees in Tabletop position, with your wrists under your shoulders and your knees under your hips.
- Thread the Needle: Inhale and lift your right arm towards the ceiling, opening your chest towards the right side. Then, exhale and thread your right arm underneath your left arm, lowering your right shoulder and temple towards the mat.
- Resting Position: Rest your right cheek or temple on the mat and extend your left arm forward, palm facing down. Allow your hips to remain lifted slightly and keep your left hand grounded for support.
- Hold and Breathe: Hold Thread the Needle Pose for several breaths, feeling a gentle stretch in the shoulders and upper back. Keep your breath steady and relax into the posture.
- Switch Sides: To release, press into your left hand and gently unwind, returning to Tabletop position. Then, repeat the pose on the opposite side, threading your left arm underneath your right arm.
6. Downward-Facing Dog (Adho Mukha Svanasana)
- Foundational pose in yoga training
- Stretches entire body
- Incorporation of whole body stengthening
- Improves circulation

- Starting Position: Begin on your hands and knees in Tabletop position, with your wrists under your shoulders and your knees under your hips.
- Hand and Feet Placement: Spread your fingers wide, pressing firmly into the mat, and tuck your toes under. As you exhale, lift your hips towards the ceiling, straightening your arms and legs.
- Form a Triangle: Your body should resemble an inverted “V” shape, with your hips lifted high and your heels reaching towards the floor. Keep a slight bend in your knees if necessary to maintain length in your spine.
- Engage Core: Engage your core muscles to support your lower back and draw your belly button towards your spine. Lengthen through your spine, reaching your tailbone towards the ceiling.
- Relax Head and Neck: Allow your head to hang freely between your arms, with your gaze towards your feet or belly button. Relax your neck and shoulders, letting tension melt away.
- Hold and Breathe: Hold Downward Facing Dog for several breaths, focusing on lengthening your spine and pressing your heels towards the floor. Take deep, steady breaths to promote relaxation and release tension.
7. Supine Twist (Supta Matsyendrasana)
- Stretches spine
- Releases tension in back and hips

- Starting Position: Begin by lying on your back with your arms extended out to the sides in a “T” shape, palms facing down. Keep your legs extended and feet together.
- Draw Knee Across Body: Bend your right knee and hug it towards your chest. Then, on an exhale, gently guide your right knee across your body towards the left side.
- Twist the Spine: Keep your right shoulder grounded on the mat as you twist your torso to the left. Extend your right arm out to the side, palm facing up, and gaze towards your right hand.
- Relax and Breathe: Allow your spine to twist naturally, feeling a gentle stretch in your lower back and hips. Relax your shoulders and neck, and take deep breaths into the twist, allowing tension to release with each exhale.
- Switch Sides: After holding the twist for several breaths, return your right knee to center and extend your leg back to the starting position. Then, repeat the pose on the opposite side, bringing your left knee across your body towards the right side.
8. Cobra Pose (Bhujangasana)
- Strengthens and improves flexibility of the spine
- Opens the chest
- Stretches the shoulders

- Starting Position: Begin by lying on your stomach with your legs extended and the tops of your feet pressing into the mat. Place your hands on the mat under your shoulders, fingers pointing forward.
- Inhale and Lift: As you inhale, press into your hands and gently lift your chest off the mat. Keep your elbows close to your body and engage your back muscles to support the lift.
- Lengthen Through the Spine: Lengthen through the crown of your head, reaching forward with your chest while keeping your pelvis grounded. Avoid straining your neck by keeping your gaze forward or slightly upward.
- Maintain Alignment: Keep your shoulders relaxed away from your ears and draw your shoulder blades down your back to open your chest further. Press firmly into your hands to lift your chest higher, but avoid locking your elbows.
- Hold and Breathe: Hold Cobra Pose for several breaths, maintaining the lift in your chest and the engagement of your back muscles. Breathe deeply and steadily, allowing your breath to guide you deeper into the pose.
- Release: To release the pose, exhale and gently lower your chest back down to the mat, resting your forehead on the mat. You can then rest in Sphinx Pose or Child’s Pose to counteract the backbend.
9. Legs-Up-the-Wall Pose (Viparita Karani)
- Rejuvenating
- Alleviate stress
- Reduces swelling in the legs & feet
- Calms the nervous system

- Starting Position: Begin by sitting with one side of your body against a wall. Your legs should be extended along the wall, and your hips should be as close to the wall as possible.
- Lift Legs: Swing your legs up the wall as you lie back on the floor. Your back and head should be comfortably supported by the mat, and your arms can rest by your sides with palms facing up.
- Adjust Hips: Scoot your hips closer to the wall if needed, ensuring your legs are fully supported and your pelvis is in a comfortable position.
- Relaxation: Allow your entire body to relax into the pose. Close your eyes if comfortable, and focus on your breath as you settle into stillness.
- Hold and Breathe: Hold Legs Up the Wall Pose for 5 to 15 minutes, or as long as feels comfortable. Take slow, deep breaths, allowing tension to melt away with each exhale.
- Release: To release the pose, gently bend your knees and roll onto one side before coming back up to a seated position.
10. Forward Fold (Uttanasana)
- Calming
- Promotes relaxation

- Starting Position: Begin in a standing position at the top of your mat, with your feet hip-width apart and your arms relaxed by your sides.
- Inhale and Lengthen: On an inhale, lengthen through your spine, lifting your chest and reaching your arms overhead.
- Exhale and Fold: On an exhale, hinge at your hips and slowly fold forward from your waist, leading with your chest. Keep your back straight as you fold, reaching your hands towards the floor.
- Bend Knees if Needed: If your hamstrings are tight, you can bend your knees slightly to ease into the stretch. Focus on maintaining length in your spine and reaching your chest towards your thighs.
- Relax Neck and Head: Allow your head and neck to relax completely, letting the weight of your head pull you deeper into the stretch.
- Hold and Breathe: Hold Forward Fold for several breaths, breathing deeply into the stretch and allowing any tension in your back, hamstrings, and neck to release with each exhale.
- Release: To release the pose, engage your core and slowly roll up to standing, stacking each vertebrae one at a time. Once upright, take a moment to notice any sensations in your body before moving on.
Incorporating Yoga into Your Routine
Incorporating yoga into your daily routine can be a transformative strategy for managing back pain and promoting overall well-being.
Starting the day with gentle stretches and mindful movements, such as Cat-Cow Pose or Child’s Pose, can help to awaken the body and alleviate stiffness.
Throughout the day, taking short breaks to practice seated or standing stretches, like Forward Fold or Cobra Pose can release tension and prevent muscles from becoming tight. In the evening, winding down with restorative poses like Legs Up the Wall or Supine Twist can relax the body and calm the mind, promoting restful sleep and reducing nighttime discomfort.
Consistency is key, so dedicating just a few minutes each day to yoga can gradually build strength, flexibility, and resilience in the back, empowering individuals to manage and prevent back pain effectively.
Conclusion
These poses offer a well-rounded approach to relieving and preventing lumbar back pain by targeting the muscles, improving flexibility, and promoting spinal alignment. Always practice yoga mindfully and listen to your body’s cues.
By incorporating regular yoga practice into their routine, individuals can build a stronger, more resilient back and experience reduced pain and improved overall well-being.
If you have any existing medical conditions or concerns, consult with a healthcare professional before starting any new exercise routine.